10 Common Bunting Mistakes That Ruin Party Photos
Bunting is the cheapest way to make a space look like a party, and one of the easiest things to get wrong in photographs. Hang it carelessly and every picture from that afternoon carries the evidence: a drooping swag, flags lost behind heads, a colour clash with the wallpaper nobody noticed until the photos were shared.
Most bunting problems come down to four things — tension, scale, height, and light. All four are fixable in about fifteen minutes with tape, a length of twine, and a friend willing to stand still while you check the framing on your phone.
Sagging Lines and Droopy Swags
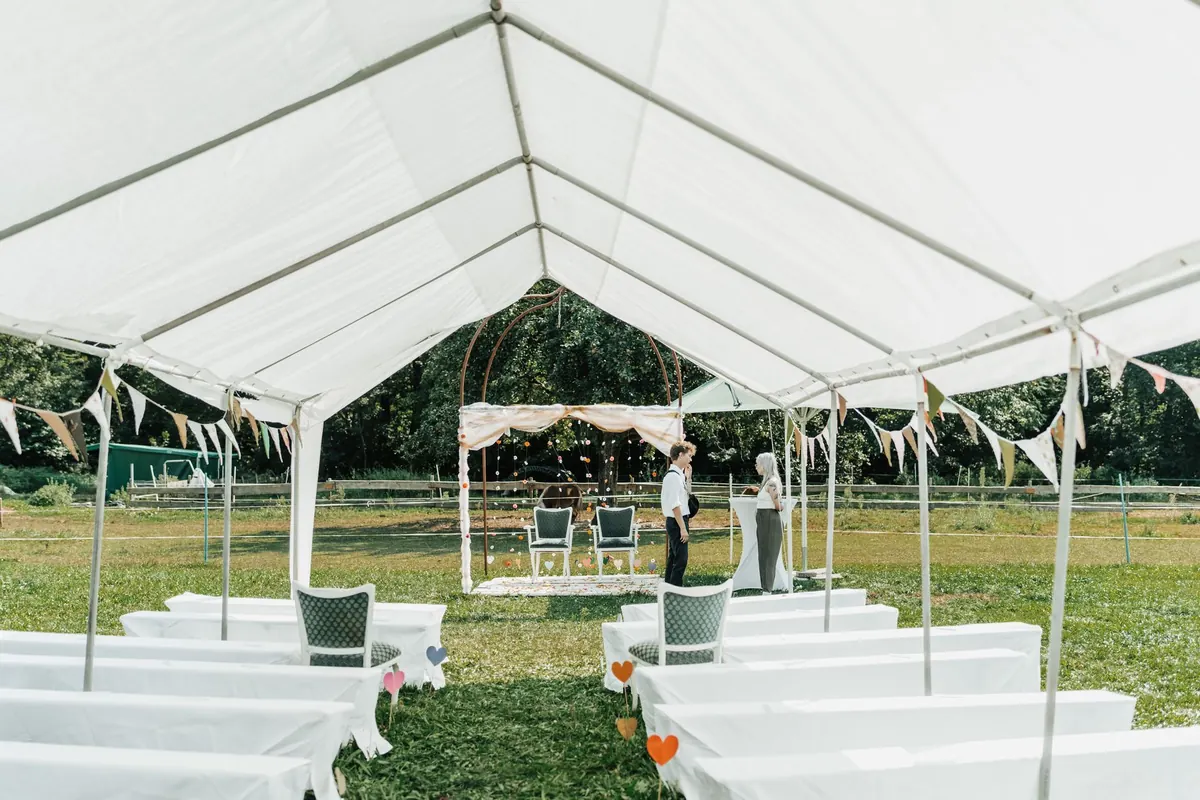
A single long run of bunting stretched across a large room will sag. That is not bad luck; it is weight and distance doing what they always do. A gentle, repeating curve reads as decoration. An uneven dip that drops to head height reads as an afterthought, and it will dominate the top of every wide shot.
Shorten the span. Two runs of three metres look better than one run of six metres, and they are far easier to tension. Anchor every metre and a half to two metres to something solid: a picture rail, a curtain pole, a ceiling hook, the top of a door frame. Small self-adhesive hooks hold well on most painted walls, and a zip tie looped around a curtain pole carries a surprising amount of weight without marking anything.
Wet string stretches. If the party is outdoors and there is any chance of rain or heavy dew, run a separate tension line of garden twine and clip the bunting to it, so the flags are not carrying the load.
Make the swags match
Start from the centre and work outward. Attach the middle point first, let the line fall into a curve, then fix each anchor at the same distance from the ceiling. A quick way to keep it consistent: hold one arm out straight and use that as your measuring stick for every dip. If you want a flat line rather than swags, you need a support line behind it — bunting strung tight on its own will always bow.
The Wrong Scale for the Room
Small flags in a large hall disappear. Large flags in a small dining room crowd the space and swallow the people in it. In photos, tiny bunting reads as visual noise along the top of the frame; oversized bunting reads as a wall.
Choose a flag size you can still read clearly from the far side of the room, since that is roughly where the camera will be. In a tight space, smaller flags work better hung close to the table or across a window, where they act as detail rather than a headline. If you cannot decide, use both: one larger run high up for the wide shots, and a smaller, tighter run lower down for close-ups of the table.
Layering solves scale problems too. Three runs at slightly different heights and depths look intentional and photograph better than one perfect line, because they give the camera something to move through.
Hung Too High, Too Low, or Straight Behind Heads
This is the mistake people notice only when the photos arrive. Bunting pinned tight to the ceiling sits above the frame in almost every phone photo, since most people shoot at chest or eye height. Bunting hung at door height drops right behind people's heads, and you end up with a triangle flag sprouting from someone's ear.
Aim for the space just above the top of the frame when someone stands in front of the bunting — in practice, roughly 30 to 60 centimetres above the tallest guest's head. If you are hanging a backdrop instead of an overhead line, keep the bottom edge above shoulder height so it frames faces rather than covering them.
Then check it. Stand where the photos will be taken, hold your phone up, and look. Five seconds of this prevents an afternoon of editing.
Too Many Colours and Patterns Fighting the Room
Bunting works best when it repeats. A run with eight different colours and four different patterns turns into a stripe of visual static, especially in a group photo where faces are already competing for attention.
Choose two or three colours and repeat them. Pull them from something already in the room or on the table — a tablecloth, a cake, the invitation, a favourite serving dish. Avoid matching the wall exactly; bunting that blends into the background vanishes in photos, while bunting that contrasts with it gives the picture depth.
Busy wallpaper is the other half of this problem. Bold floral or patterned walls plus patterned flags is more than a camera can resolve. In that case, hang the bunting on a plain wall, or stretch a plain cloth or paper backdrop and hang the bunting in front of it.
Light, Wrinkles, and Details the Camera Finds
Bunting hung directly in front of a bright window becomes a row of dark shapes, because the camera exposes for the daylight behind it. Overhead spotlights throw hard shadows of each flag down the wall and across faces. Both are easy to avoid by hanging bunting on a wall that receives soft, even light — or by moving the photo spot rather than the bunting.
Outdoors, hard midday sun is just as awkward: flags in direct sun blow out to flat colour while anything in shade goes dark. Late afternoon light, or the shaded side of a building, is far kinder.
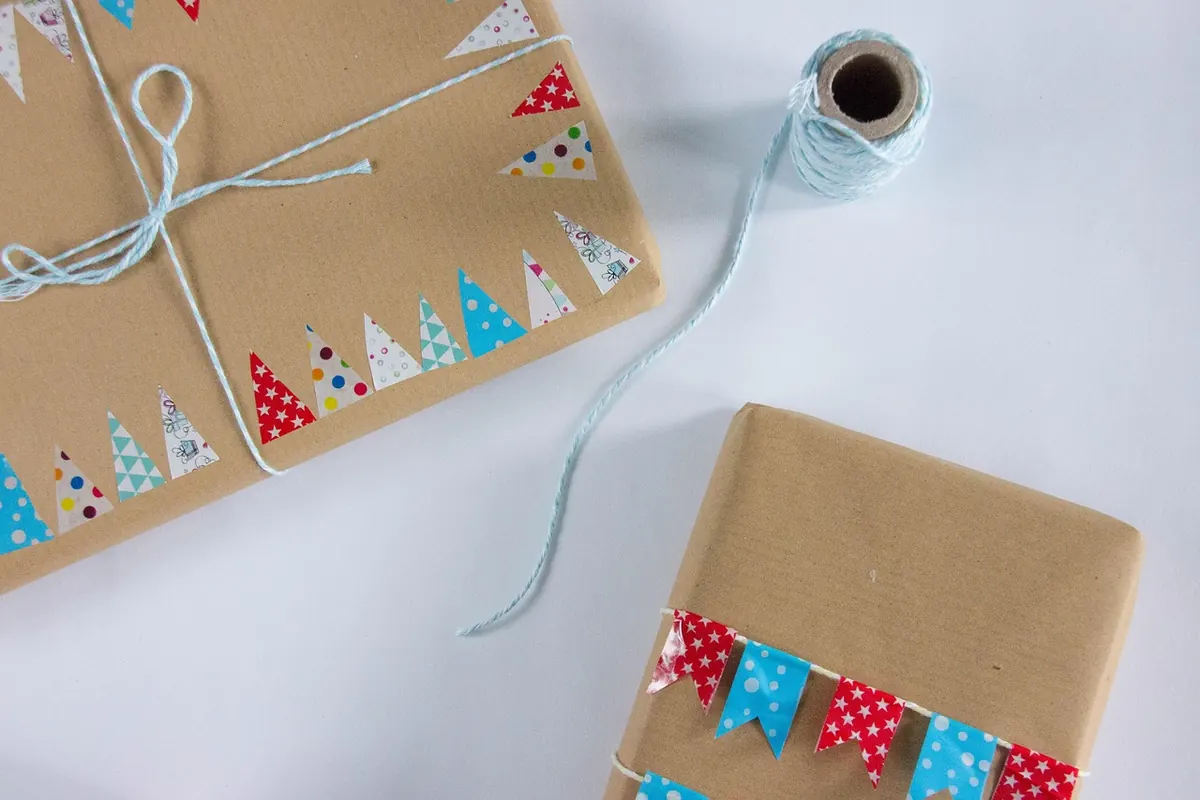
Then there are the small things that only show up in close-ups: creases from storage, curled corners, tangled string, visible tape, flags spaced unevenly. A few minutes with a warm iron on a low setting, or a steamer held at a safe distance, is worth the trouble. Store bunting rolled around a cardboard tube rather than folded into a box, untangle each run before hanging, and keep fixings behind the line rather than in front of it.
The Ten-Minute Pre-Party Check
Once the bunting is up, run through this before the first guest arrives:
- Stand where the photos will happen and take a test shot at chest height. Is the bunting in frame?
- Check the swags from three angles — front, corner, and from the table.
- Look for a flag poking into the space where someone's head will be.
- Check for gaps: bare stretches of string where the flags have slid apart.
- Tug each anchor gently. If it moves now, it will move when someone brushes past it.
- Straighten twisted string so flags face the same direction.
- Look at the bunting against the background. Too similar, and it disappears.
- Take one photo with a person standing in the shot. That is the only test that counts.
Two minutes of adjusting now beats an hour of cropping later.
A Better Photo Starts Before the Guests Arrive
Bunting is rarely just a background detail. It is often the thing that tells the story of the party in photographs, and it appears in almost every frame. Getting the tension, scale, and height right takes less time than setting the table.
Fix the sagging line, lift the run above head height, and simplify the colours. Then step back, hold up your phone, and look at the frame the way a camera will see it. That is the whole trick.
Photo: Pixamio / Pixabay