How to Make a Reversible Bunting Banner for Two-Sided Events
You have seen it happen at a party: a bunting banner strung across the entrance, charming from the front, and then on the way out it shows its backside. Raw seams. Chalk marks. A hem that runs sideways. Reversible bunting solves that small, nagging problem. Two finished faces, no wrong side, no rush to hang it in one direction only. It takes maybe an extra half hour of work, and it doubles the life of a banner you will hang again for birthdays, showers and school events.
Choose Your Two Fabrics Together
The single most useful decision is the fabric pairing, not the pennant shape. Standard quilting cotton is the sweet spot: it presses flat, takes a crisp point, and comes in enough prints to coordinate anything. Heavier cotton duck gives a banner that hangs stiff and doesn't flap in a breeze, though the seams get bulky and you will want a broader top tape. Felt and flannel are forgiving for beginners, but they fray less and pill more over time.
Keep both sides in a similar weight. Pair a light voile with a canvas and the flag will curl toward the heavier fabric within a day. For a versatile banner, put a print on one face and a solid on the other, so you can flip the whole thing for a second event with a different colour scheme. If the bunting will live outdoors, check that both fabrics are marked for outdoor use and accept that strong sun fades even the good ones.
Cutting Math That Saves Fabric
Make one stiff template from card stock or template plastic. A pennant about 8 inches wide at the top and 10 inches long suits most doorways and photo walls; smaller flags — 5 by 7 inches — look better on a long aisle run because they read as a line rather than a row of triangles.
- Draw the triangle, then add a 1/2-inch seam allowance along the two angled sides only. The top edge stays as drawn if it will be hidden inside a tape.
- Cut two triangles per flag: one from each fabric, right sides facing out later.
- Lay the flags on the floor with a 2-inch gap between points and measure the total run before you cut any tape or ribbon.
A 10-foot run with 8-inch flags and 2-inch gaps generally takes 12 to 14 pennants. Add 12 to 18 inches of tie at each end for knots, and add a little extra if the banner will swag between two hooks rather than run straight. Cutting the hanging tape first and then discovering it is short is the most common bunting mistake there is.
The Sewn Version, Step by Step
Pin the two triangles right sides together. Sew down one angled side, pivot at the point, and come back up the other side with a 3/8-inch seam. Backstitch at the point so it does not split when you turn the flag.
- Trim the seam allowance at the point to about 1/8 inch, and clip the corners.
- Turn the flag right side out with a chopstick or the blunt end of a pencil, pushing the point out gently — force it and the seam pulls open.
- Press flat, then topstitch 1/8 inch from the edge if you want the flag to hold its shape through washing.
- Slide the top edge of each flag inside 3/4-inch double-fold bias tape, spacing them evenly. Pin through all layers.
- Stitch close to both long edges of the tape, catching all the flag tops, and finish the ends by folding the tape under.
Bias tape in a solid colour works on both faces, which is exactly the point. Wide grosgrain ribbon behaves the same way and skips the folding step; a plain ribbon reads identically from either side.
Tip: stitch two rows along the hanging tape. The second row takes the strain off the first when someone brushes past, and the tape lies flatter against a wall.
The Glue and Fusible Version
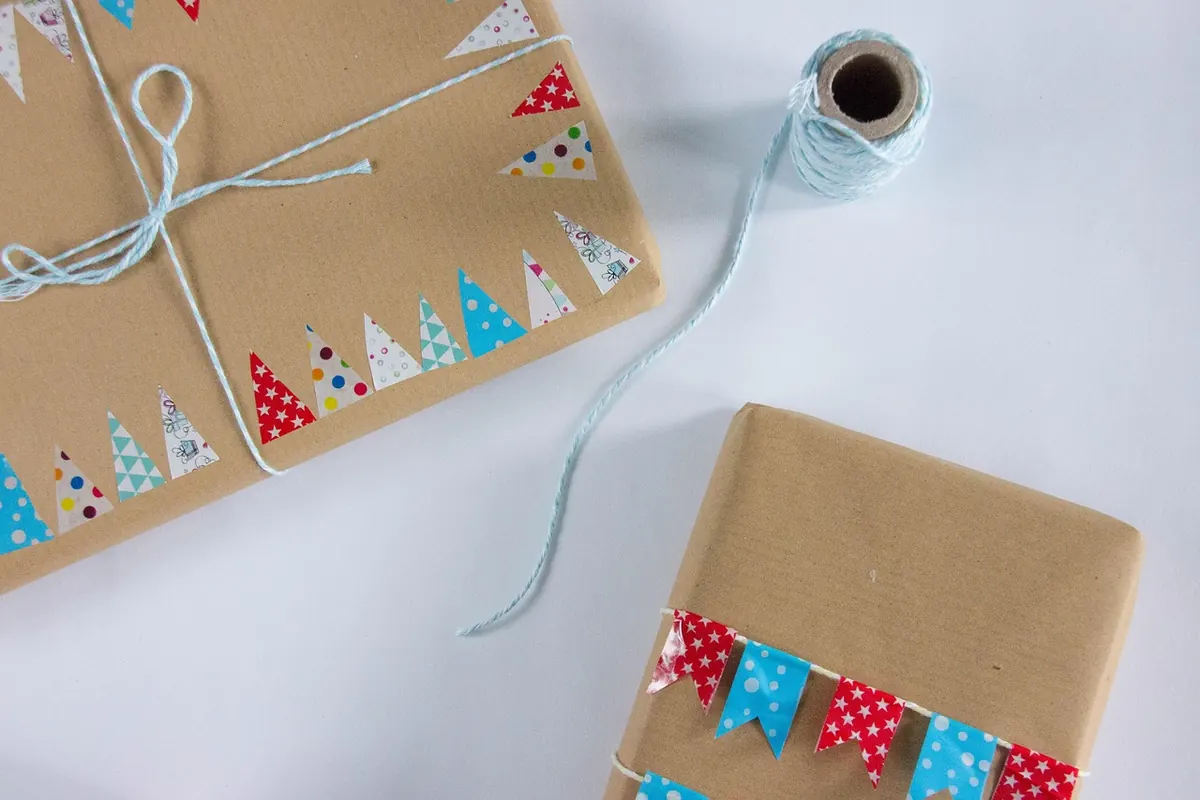
If you don't sew, double-sided fusible web gives the cleanest result. Trace your template onto the web, fuse it to the wrong side of one fabric triangle following the manufacturer's temperature and time, peel the paper, then press the second triangle into place. Let it cool before you move it. Test on a scrap square first — fusible web that is under-pressed peels at the corners, and over-pressed web leaves a shine.
Fabric glue is the quicker route, but be realistic about it. Glue needs several hours to cure, it stiffens the fabric, and on thin cotton it can strike through to the front. Run a thin line just inside the edge of one triangle, press the second on top, and weight it with books while it dries. For a rustic raw-edge banner, cut both layers with pinking shears and glue only the top edge, leaving the sides loose.
Hanging It So Both Faces Look Right
Doorways and entrances: attach at the two top corners and let the banner swag. Guests see the front on arrival and the back on the way out, so both fabrics need to belong to the same colour story.
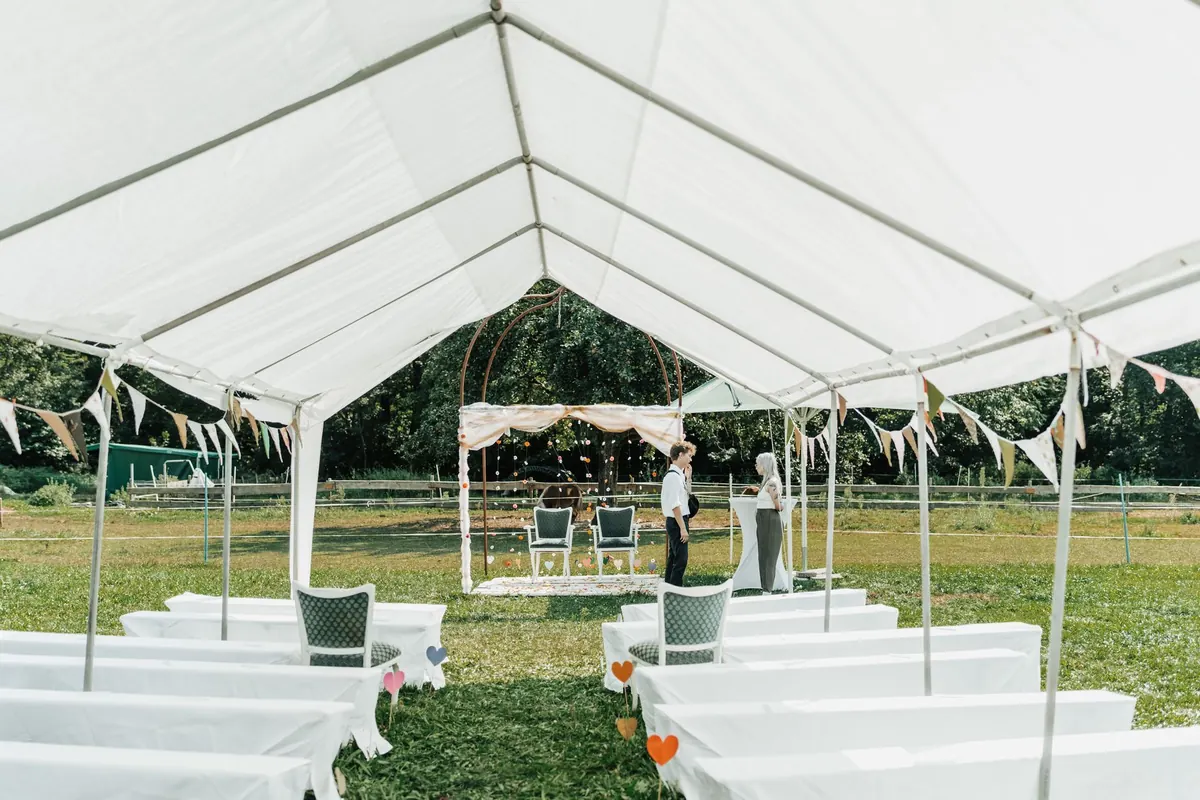
Aisles and ceremony rows: run the banner straight between two posts or along a wall. Keep the tape level — mark both ends at the same height with painter's tape before you hook anything, then adjust the middle.
Photo walls: hang vertically rather than horizontally, with a single drop of flags from a short dowel or hoop. Vertical bunting reads well from both directions as people move past, and it stays out of group photos. Keep the lowest point above head height, around 6 feet, so nobody's hair tangles in it.
Washing, Storing and Reusing
Spot clean small marks with a damp cloth. For a full wash, hand wash in cool water and hang to dry flat — a machine cycle twists the bias tape and dulls the points. Press on the back of the fabric with a cool iron, working from the tape outward. Store the banner rolled around a cardboard tube or folded flat in a box; stuffing it into a bag creases the flags and bends the tape.
Start With Six Flags
Your first reversible banner does not need to span a room. Cut six flags from two fabrics you already like, sew or fuse them, and thread them onto a metre of bias tape. Hang it over a doorway at home for a week and watch how it behaves — whether the flags twist, whether the tape sags, whether the two sides clash in daylight. Fix those three things on the next one, and you will have a banner you can pull out for years, from either direction.
Photo: simardfrancois / Pixabay