How to Make No-Sew Bunting from Old T-Shirts
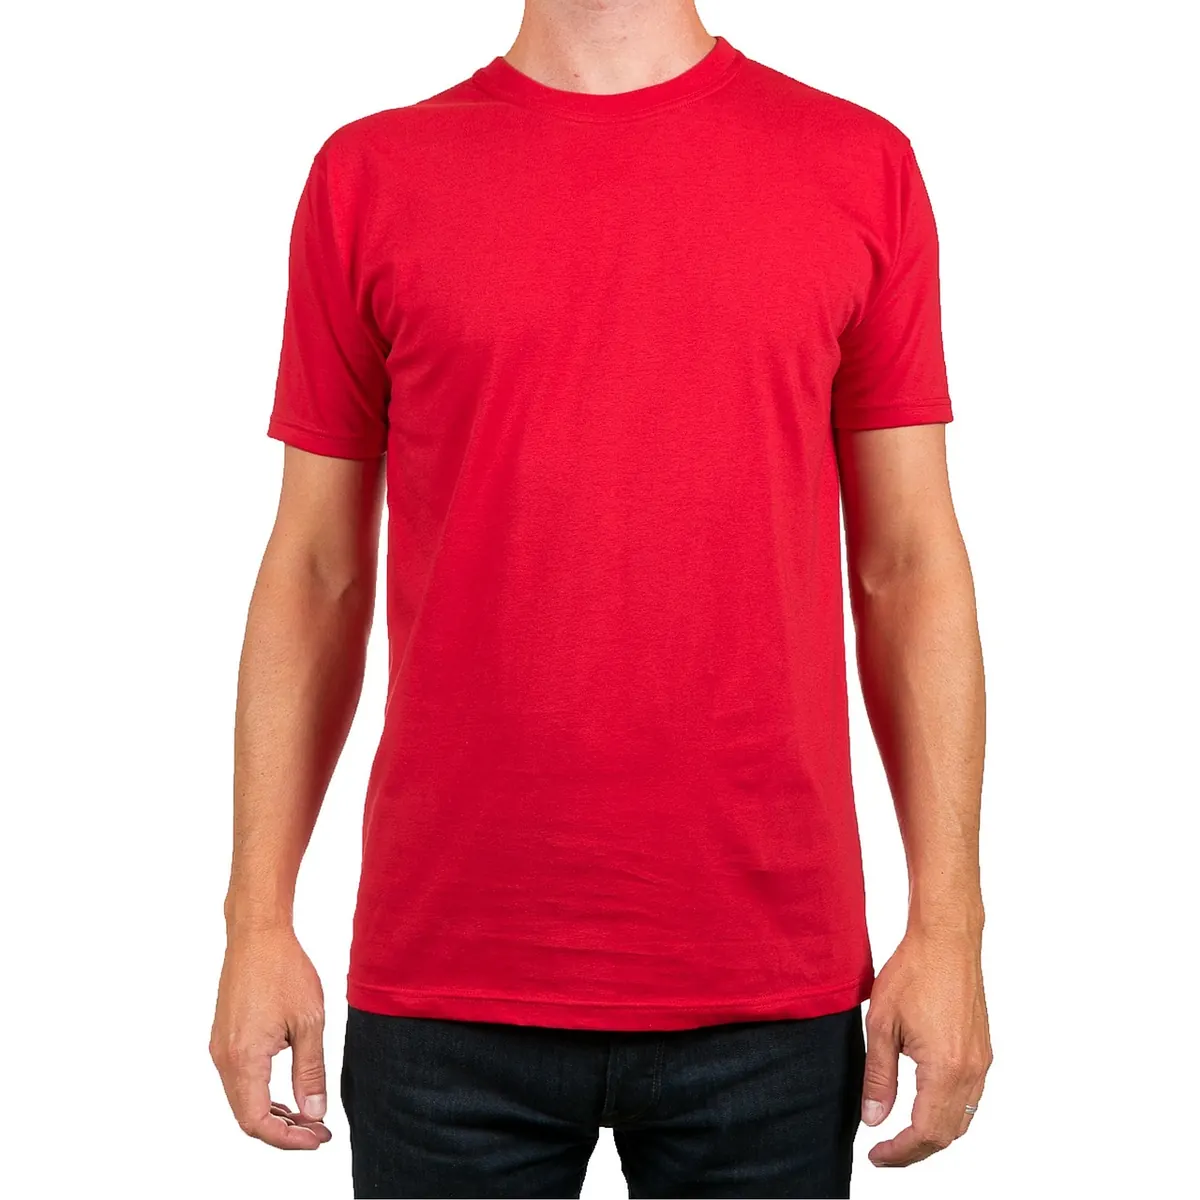
Most people have a drawer of t-shirts they will never wear again: the 5K finisher shirt, the band tee that shrank in the wash, the bright orange one with a stain on the cuff. Those shirts are already the right material for bunting. Cotton jersey cuts cleanly, curls at the edge instead of fraying, and holds its color. One shirt makes three or four good-sized flags, and a stack of five makes enough bunting to cross a living room twice.
Why T-Shirt Jersey Makes Good Bunting
T-shirt fabric is a knit, not a woven. When you cut it, the edge rolls slightly instead of unravelling into loose threads, so you can skip hemming altogether. That single property is what makes this project possible without a sewing machine.
It also has useful weight. Paper bunting tears in a draught and creases in storage. Jersey triangles hang straight, move gently when air passes them, and survive being folded into a tote bag. The stretch helps too — a flag glued to tape will flex a little rather than cracking the bond when someone brushes past it.
Color is the third advantage. Shirts come in shades you actually chose at some point, and years of washing soften them into warm, slightly faded tones that look better than a pack of identical craft felts. If you are decorating for a specific theme, raid the drawer for a palette: navy, mustard and cream for a birthday, two school colors for a sports party, all the blues for a baby shower.
What You Need
- Three to five cotton or cotton-blend t-shirts, adult medium or larger. Bigger shirts mean more flags per shirt.
- Sharp fabric scissors. Pinking shears are a nice extra but not required.
- Flexible fabric glue — the kind that stays slightly rubbery when dry. Skip hot glue and stiff craft glue, which crack and peel off knits.
- Two to three metres of ribbon, bias binding or twill tape, about 2 cm wide. A strip torn from an old bedsheet works if you fold and press it first.
- A flat weight: a couple of heavy books or a chopping board.
- Optional: chalk, a ruler, small clips or clothespins.
A note on glue and fabric
Fabric glue bonds best to clean, dry cotton. If a shirt is stiff with sizing or smells strongly of detergent, wash and dry it first with no fabric softener. Pure cotton takes glue a little better than a poly blend, but blends work fine in practice. Test a dab on a scrap and let it cure for an hour before committing to a whole flag.
Cutting the Shirts into Flags
- Lay the shirt flat. Cut straight across the body just below the armpits, through both layers, so the body becomes a tube.
- Trim off the bottom hem, then cut up one side seam to open the tube into a single flat rectangle. Remove the seam itself; it is thicker than the rest of the fabric and glues unevenly.
- Fold the rectangle in half, bringing the two short ends together, and smooth it flat.
- Cut diagonally from the folded corner to the opposite open corner. You now have two triangles. Repeat with the remaining rectangles.
- Aim for roughly 18–20 cm along the top edge and 22–25 cm from top to point. Sizes can vary by a centimetre or two — that irregularity is part of the charm, but keep them close enough that the bunting hangs evenly.
- Keep the sleeves and offcuts. Cut them into narrow strips to make a tie for the ends, or set them aside for a future project.
If a shirt has a graphic you want to keep, cut a rectangle around it first, centre the shape you want, then trim the triangle. Logos and small prints look best sitting in the middle of a flag with plenty of plain fabric around them.
Gluing the Flags to the Tape
There are two ways to do this, and both work. Pick based on how permanent you want the result.
Method one: glue the flags straight onto the tape
Run a thin bead of fabric glue along the top edge of one triangle, about 1 cm in from the cut. Press that edge against the tape, centring the flag on the width of the ribbon. Add a small dab at each top corner, where the fabric tends to lift first. Repeat along the tape, leaving 5–8 cm between flags. This is the faster method and gives a flat, smooth line.
Method two: fold a channel and thread the tape later
Fold the top 2 cm of each triangle to the back and glue the fold down, leaving a sleeve just wide enough to pass the tape through. Once the glue is dry, thread the ribbon through each flag. The flags slide, so you can space them differently for each party, remove one that picks up a stain, or swap in extra flags for a longer run. It takes more glue and a little more patience, and the channel adds a slight bulk at the top of each flag.
Whichever method you choose, spacing is what makes bunting look deliberate. Lay the full length of tape on the floor or a big table and dry-fit every flag before you open the glue. Cut a scrap of card to the width of your gap and use it as a spacer — it is quicker and more accurate than measuring each time.
When everything is in place, lay the bunting flat, cover it with a sheet of baking paper, and weight it down with books. Fabric glue needs time to cure properly; leave it overnight, ideally a full 24 hours, before you hang it. Resist the urge to test a corner after an hour.
Hanging and Styling
A bunting line looks better with a little sag than pulled tight. Allow roughly 10–15 cm of droop per metre of tape, and tie the ends to hooks, railings or branches with a simple loop. Indoors, small removable hooks hold the weight easily. Outdoors, tie to something solid rather than relying on tape, which lets go in damp air.
Two strands at different heights, one above the other, fills a wall far better than a single line. Mixing your jersey flags with a plain ribbon or a strip of lace adds texture without extra work. If your flags include a favourite print, put it near the middle where people actually look.
Cotton holds moisture, so bring outdoor bunting in overnight or before rain. It dries out fine, but repeated soaking weakens the glue over time.
Washing, Storing and Small Repairs
Hand wash bunting in cool water with a little mild soap, rinse, and hang it to dry. A tumble dryer is the one thing to avoid: heat softens the glue and can lift the corners. If a corner does come away, dab a little fabric glue under it, press it flat, weight it, and leave it for a day.
Store bunting rolled around a cardboard tube rather than folded in a bag. Rolls keep the tape from developing kinks and stop the flags from creasing into each other. Kept that way, a set made from five old shirts will last through several years of birthdays, school fairs and garden parties — and you will still have the rest of the drawer to work through.
Photo: VersionFrancaise / Pixabay